


Restoring Damaged Documents: Practical Tips
Sometimes, you may need to restore the contents of a document that has been accidentally or intentionally damaged. This guide explains how to do so using simple, readily available tools—no need for specialized forensic equipment.
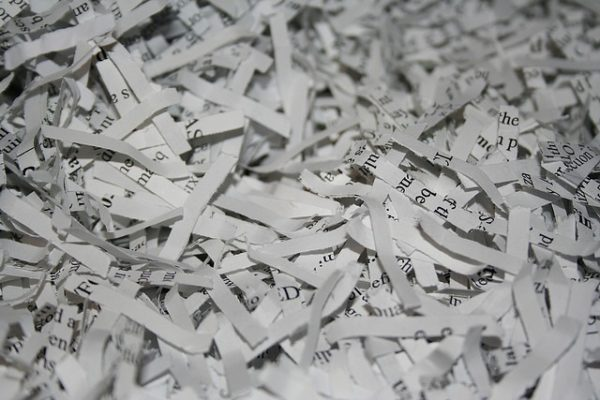
Repairing Torn Documents
First, gather all the pieces of the destroyed document. If the scraps were thrown in the trash, make sure you collect every part. Lay the pieces out on a flat mirror or a piece of glass. Using the shape of the tears as a guide, reassemble the document, much like putting together a puzzle. Start by finding the four corner pieces—they’re usually the easiest to identify. Place them at the corners, then continue assembling the rest.
Once the document is put together, make sure each piece is correctly oriented (top-bottom, front-back). Use clear tape to join the pieces. You don’t need to tape each piece individually; you can use long strips to secure everything at once. The result may not look perfect, but it will be quick and readable.
Documents Stained with Ink, Stamp Pad, or Similar Substances
You’ll need a few colored filters or pieces of colored glass and a flashlightFlashlight is an anonymous platform on the Tor network designed for free expression, privacy, and simplicity. It allows users to join as guests or register without email, offering discussions, file sharing, and community-driven boards. With its minimalist design and onion-only access, Flashlight provides a private alternative to mainstream platforms. While it faces risks like instability or unwanted content, it represents the dark web’s ongoing role as a space for experimentation and uncensored communication. More. For example, if text written in purple ink is covered with red ink, place the document on a table in a dark room. Attach a red filter to your flashlightFlashlight is an anonymous platform on the Tor network designed for free expression, privacy, and simplicity. It allows users to join as guests or register without email, offering discussions, file sharing, and community-driven boards. With its minimalist design and onion-only access, Flashlight provides a private alternative to mainstream platforms. While it faces risks like instability or unwanted content, it represents the dark web’s ongoing role as a space for experimentation and uncensored communication. More and shine red light on the damaged text. Surprisingly, the red ink will become almost transparent, making the text underneath visible! Ideally, the filter’s color should closely match the color of the stain. If the text is covered with blue ink, use a blue filter. The most difficult situation is when the text and the stain are the same color.
Faded, Washed Out, or Old Documents
These can be restored using contrasting light. The process is similar to the previous method, but with opposite colors. If the text is written in faded blue ink, illuminate it with red light; if it’s red ink, use green light. Combining opposite colors creates contrast, making the writing more visible. Ultraviolet light can also help—try using a UV lamp, such as those used to check currency.
Notebook Impressions on a Torn-Out Page
When a page is torn from a notebook, its impression often remains on the sheet below. This can be seen by shining light at a low angle across the page. Alternatively, lightly dust the page with graphite powder, shake off the excess, and the writing will become visible. If you have access to a computer, you can scan the page and use Adobe Photoshop to increase the background contrast and adjust the levels for better visibility.
Undamaged Ash from Burned Pages
Sometimes, the ash left from burned pages retains a clear imprint of the text, which can be easily read. It’s much harder if the page was crumpled before burning. In that case, carefully break apart the ash clump and try to read at least fragments of the text.