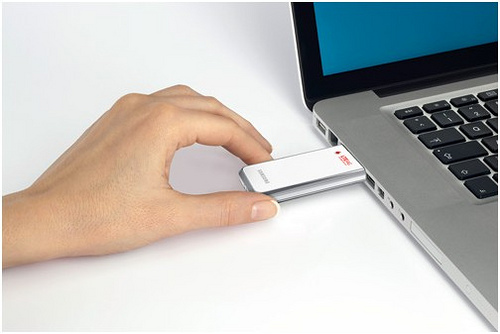
How to Change the IMEI on a USB GPRS Modem
Many hackers are interested in USB GPRS modems. These devices are extremely convenient, but they also have an IMEI number, which can be used to track you. The following article was found online. All actions are performed at your own risk! I believe you can use a similar approach for other modems from this manufacturer. Good news: you can buy these modems, for example, from Beeline, Megafon, or MTS with a contract, and then just discard the SIM card.
Restoring and Changing the IMEI on a ZTE MF626 Modem
I want to share a method for fully restoring a ZTE MF626 modem from a semi-bricked state, with the ability to restore the original or any other IMEI, as well as other settings locked by the SPC code. This method does not require searching for or calculating the SPC code!
This method can also be used to reflash modems that haven’t been flashed yet, preserving their settings in case of errors during the process. Everything can be easily restored.
For this process, you’ll need two modems: one that’s “bricked” (in download mode) and a working one (any ZTE MF626 from any carrier).
Important: You must flash the modem without using a cable—plug the modem directly into the port!
Required Software and Files
- QPST v2.7 build 301
- WinHex v15.0.0 (or any other HEX editor; I recommend WinHex)
- RW NV item ZTE MF626 (optional, but helpful)
- Firmware: MF626 M02 Upgrade Tool
- Drivers version 1.2050.0.6 with the following lines added to the
zteusbdiag.inffile in the [ZTEcomSerialPort] and [ZTEcomSerialPort.NTamd64] sections:
%ZTEDevice0016% = ZTEportInstall6k, USBVID_19D2&PID_0016&MI_00
%ZTEDevice0016% = ZTEportInstall6k, USBVID_19D2&PID_0016&MI_04
Part 1 – If the Modem Is Working
- Launch RW NV item ZTE MF626 and create a backup.
- Open drive C: and find the file
Channel1.nvm—this is your backup. - Change its extension, for example, to
Channel1.nvm_. This is in case the flashing process doesn’t go smoothly. - Launch MF626 M02 Upgrade Tool and flash the modem.
During the backup process, another Channel1.nvm file will be created—leave this one alone. Steps 1–3 are optional but highly recommended for safety and to make the process easier. Once the flashing is complete, unplug and replug the modem, install the Telstra software, reboot, and enjoy your internet connection!
Part 2 – If the Modem (Firmware) Is Bricked
- This step is for restoring or changing the IMEI. Launch QPST v2.7 build 301 → Service Programming → Work Offline → SURF6246-RTR6285-A2. Enter the IMEI and save it somewhere.
- Save and name the file. Close the program.
- Go to where you saved the file and open it in QCNView (included with QPST). Switch to the Text View tab and find the line NV item: 550 [NV_UE_IMEI_I]. index 0. In our case, it will look like
08 1a 32 54 06 12 11 22 02. Keep the program open for now. - To get
Channel1.nvm, refer to steps 1–3 from Part 1. For this operation, you’ll need the working modem. - Open
C:\Channel1.nvmin WinHex. Press ALT+G or go to Position → Go To Offset, enter 169CC, and you’ll land on the first digit of your IMEI. Change the HEX value to the one you got in QCNView. Do not go past offset 169D4! Save the file and you’re almost done. You can now close WinHex and QCNView. - Launch the firmware tool, insert the working modem, and wait for the backup to complete. When you hear the sound of the device disconnecting and the modem’s LED turns off, quickly remove it and insert the bricked modem. It’s better to remove the modem a bit earlier than too late—if you’re late, you may need a third modem to recover the other two. If a driver is needed after entering download mode, install it manually and make sure it uses the same port as before. Select the ZTE HS-USB Diagnostics Interface driver.
- The first flashing attempt may fail—don’t worry, just repeat step 5. If everything goes well, while the firmware is being written, go to drive C: and you’ll see two files:
Channel1.nvm_andChannel1.nvm. Delete the secondChannel1.nvmand rename the first one toChannel1.nvm. Wait for the process to finish. If an error occurs, rename the file back toChannel1.nvm_and repeat step 5. - Once everything is working, don’t forget to restore the CD_STARTUP_FLAG and FLAG_NO_DOWNLOAD flags on the modem you protected from download mode. You can use the EFS Explorer (QPST) utility on the restored modem to do this.


